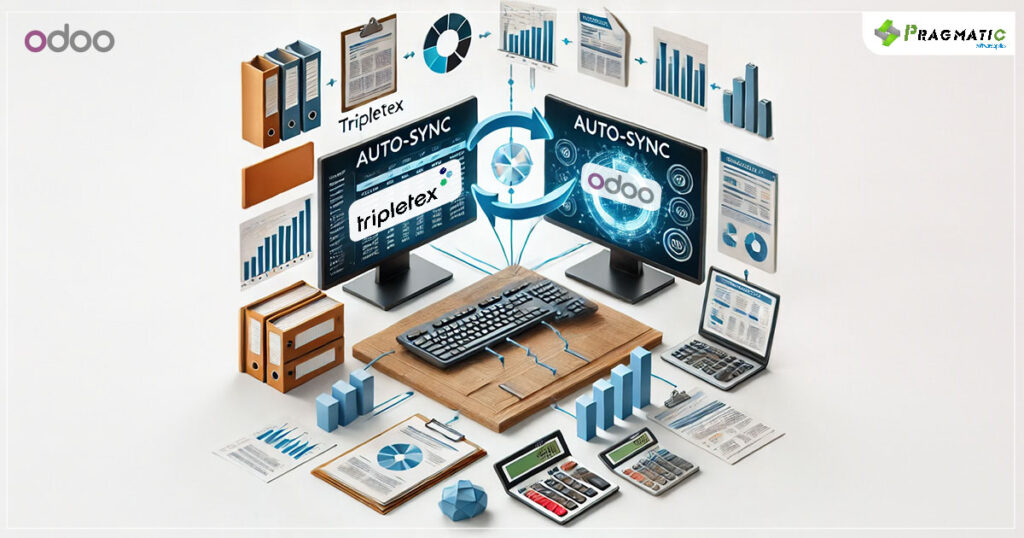
The Tripletex-Odoo connector, a powerful integration tool, offers an auto-sync functionality that streamlines data exchange between Tripletex and Odoo, eliminating manual data entry and reducing errors.
In this blog, we will delve into the intricacies of this auto-sync functionality and explore how it enhances the overall efficiency of your business operations.
Understanding Odoo-Tripletex Integration with automatic data Sync
The Odoo-Tripletex connector facilitates a seamless bi-directional flow of data between your Odoo platform and Tripletex accounting software. This means data changes made in one system are automatically reflected in the other, ensuring consistency and eliminating the risk of discrepancies.
Here’s a breakdown of the key functionalities –

1) Master data synchronization
Automatic syncing of essential data like customers, vendors, products and accounts between Odoo and Tripletex. This eliminates the need for duplicate data entry and ensures consistency across both systems.
2) Transaction data synchronization
Automatic transfer of transactional data such as invoices, sales orders, purchase orders and payments between Odoo and Tripletex. This streamlines financial processes and reduces manual reconciliation efforts.
3) Scheduled synchronization
The connector allows you to define synchronization schedules, enabling automatic data exchange at predefined intervals. This ensures data remains up-to-date without requiring manual intervention. The connector automatically maps data fields between Tripletex and Odoo, ensuring that data is correctly transferred and formatted.
4) Bi-Directional Integration
The connector supports bi-directional integration, meaning that data can be synchronized in both directions, ensuring that changes made to data in either system are reflected in the other.
Benefits of automatic data sync with the Odoo-Tripletex Connector
- Reduced manual data entry : Eliminate the tedious and error-prone task of manually entering data into both systems.
- Improved data accuracy : Real-time data synchronization minimizes the risk of errors and inconsistencies.
- Enhanced efficiency : Streamline workflows and free up valuable time for more strategic tasks.
- Real-time visibility : Gain instant access to accurate and up-to-date financial data across both platforms.
- Simplified reconciliation : Automatic data transfer facilitates effortless reconciliation processes.
IMPLEMENTATION + CONFIGURATION
1) Install the connector
Access the Odoo Apps store directly within your Odoo platform. This can usually be found under the “Apps” section in your Odoo interface.
Search for the “Tripletex-Odoo Connector” developed by Pragmatic Techsoft (or the relevant provider depending on the specific connector you’re using).
Once you locate the connector, proceed with the installation process according to the instructions provided on the Odoo Apps store. This might involve clicking “Install” and following any additional prompts.
2) Configure the connector
After successful installation, navigate to the configuration settings for the Tripletex-Odoo connector within your Odoo system. This location may vary depending on the specific connector, but it’s often found under the “Settings” or “Configuration” menu within the Odoo interface.
Look for sections related to Tripletex API configuration. Here, you’ll need to provide the necessary credentials to establish a secure connection between your Odoo instance and your Tripletex account. These credentials typically include API keys or access tokens provided by Tripletex.
Data mapping is another crucial aspect of configuration.
This involves defining how data fields in Odoo correspond to their equivalents in Tripletex. The connector needs this mapping to ensure accurate transfer of information between the two systems. The specific options for data mapping will depend on the connector you’re using, but it often involves selecting corresponding fields from dropdown menus or utilizing custom mapping options.
3) Enable Auto-Sync
Once you’ve established the connection and configured data mapping, locate the settings for automatic data synchronization. This might be labeled as “Auto-Sync” or “Scheduled Synchronization” within the connector’s configuration menu.
Here, you’ll be able to define the synchronization interval.
This determines how frequently data is automatically exchanged between Odoo and Tripletex. Common options include hourly, daily, or even real-time synchronization (depending on the connector’s capabilities).
You’ll also be able to select the specific data fields you want to be synchronized automatically. This allows you to tailor the auto-sync functionality to your specific needs.
For instance, you might choose to synchronize customer and product data constantly but schedule financial data transfer for less frequent intervals.
It’s important to note that :
These are general steps and the specific configuration process might differ slightly depending on the Odoo-Tripletex connector you’re using. It’s always recommended to refer to the official documentation provided by the connector developer for the most accurate and up-to-date instructions.
At Pragmatic Techsoft, we understand the complexities of managing data across multiple platforms. Our team of Odoo experts possesses in-depth knowledge of the Odoo-Tripletex connector and its functionalities. We offer comprehensive services, including:
- Implementation and configuration : Seamless integration of the Odoo-Tripletex connector with your existing systems.
- Customization : Tailoring the connector to meet your specific business needs.
- Ongoing support : Providing expert guidance and technical assistance to ensure optimal performance.
To learn more about the Tripletex-Odoo connector and how it can enhance your business operations, please contact our team at Pragmatic Techsoft.