Why keep historical orders?
Moving to Odoo 18 is exciting, but you still need all those past sales orders for customer service and reporting.
If you import them the wrong way, Odoo will create fake deliveries and draft invoices, cluttering your stock and accounts.
This article shows the safest, simplest method to bring in historical orders without any unwanted side-effects.
So, why should one keep historical orders?
1. Customer memory – Your team can instantly see what each customer bought before.
2. Better reports – Sales dashboards and product-trend graphs only tell the truth when past data exists.
3. Single workspace – No one has to log into the old ERP again.
The hidden trap in standard Odoo imports
When you import sales orders in the normal way, Odoo treats them as new, live orders. That means it will automatically :
- Reserve stock and create delivery orders (stock pickings)
- Create draft invoices that show up in the accounting dashboard
We need to avoid both.
The four-step safe-import plan
Step 1 – Prepare a clean CSV
Create one row for every order line and include only these columns :
- Customer → e.g. ACME Inc (must match a partner in Odoo)
- Order Date → e.g. 2023-01-15 (use YYYY-MM-DD)
- Product → e.g. [WIDG] Widget (internal reference or full name)
- Quantity → e.g. 10
- Unit Price → e.g. 50
- State → sale (marks the order as already confirmed)
- Invoice Status → invoiced (marks every line as already invoiced)
Leave out anything to do with deliveries, stock moves or payments.
Step 2 – Import as quotations
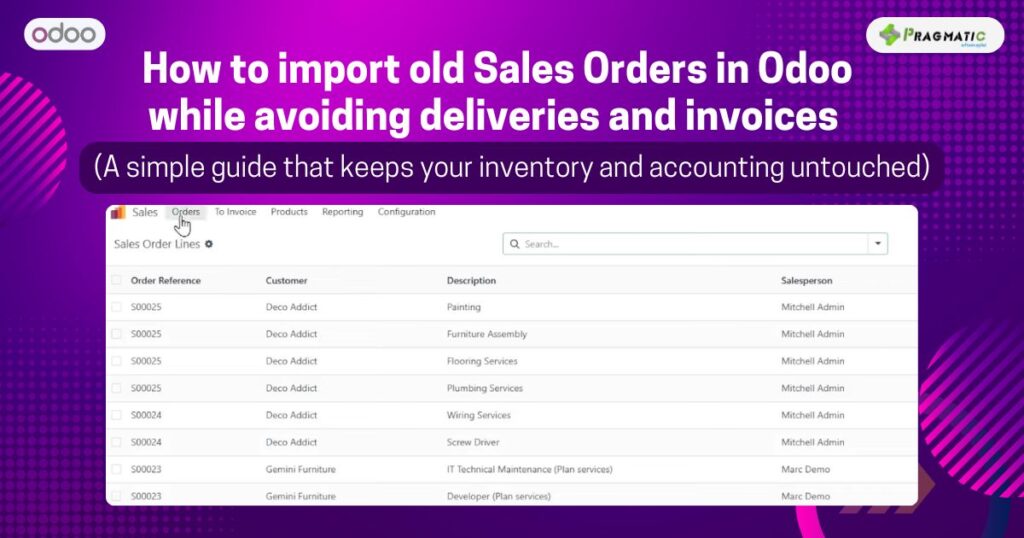
- Open Sales → Orders → Quotations → Import
- Upload the CSV, map the columns and click Test
If Odoo shows “0 Errors”, click Import
The orders now sit safely in Quotation status and don’t touch stock or accounts.
Step 3 – Mark orders as finished (optional but recommended)
👉Turn on Developer Mode (Settings → Activate Developer Mode)
👉Install the free Mass Editing add-on.
In the quotations list :
👉Select all records.
👉Choose Action → Mass Edit.
👉Set State to sale (Sale Order).
👉Set Invoice Status to invoiced.
👉Apply.
Because every line is already tagged as invoiced, no draft invoices appear.
Step 4 – Quick cleanup check
It’s rare, but verify nothing slipped through –
👉Deliveries : Go to Sales → Delivery Orders, filter by today’s date, and delete any accidental pickings.
👉Invoices: Go to Accounting → Invoices, filter by Draft, and delete any empty drafts.
Extra tips for zero stress
Use a staging database first – Practise the whole routine before touching live data.
👉Create a “Historical” warehouse – If you absolutely must record stock moves, assign them to a dummy warehouse with endless stock so real quantities stay accurate.
👉Chunk big imports – Import one month or one large customer at a time. It’s easier to roll back if something goes wrong.
👉Prefix order numbers – Add “HIST-” to imported order numbers so you can filter or mass-delete later if needed.
Pre-flight checklist
1. Tested everything on a staging copy
2. Took a fresh backup of live database
3. CSV lines include State = sale and Invoice Status = invoiced
4. No delivery-related columns in the CSV
5. Mass-edit action ready
Tick these boxes, hit Import and your legacy orders will land in Odoo 18 – no phantom deliveries, no fake invoices.
That’s it! Your historical sales orders are now safely in Odoo 18, clean and complete, without causing any headaches for your warehouse or accountant.
Need more help?
If your data set is huge, messy or you just prefer expert assistance, reach out to an Odoo solutions partner.
FAQ
1) Will inventory change?
No. We never create pickings in this method.
2) Will draft invoices appear?
No. Setting Invoice Status to invoiced hides them from accounting.
3) Can I undo a mistake?
Yes. Delete the imported orders and re-import a corrected CSV.
4) Are there helper apps?
Yes. The free Mass Editing app handles bulk status changes, and several paid import tools add wizards if you prefer point-and-click.
5) Do I need coding skills?
Not for this workflow. Only advanced cleanup scripts require code.