
This app adds the feature of handling booking of an Online Covid Test of Odoo users.Everything happens through Odoo. It is completely secure.
CONFIGURATION
First login with the admin user to create test centre users, test centres, companies records and the medical staff records.
1. Create Test Centre Users:
These users will be set as internal users of odoo. To create internal users, goto Settings -> User & Companies -> Users.


After creating a user, hit the “Create an Employee” button on the header to create an employee for the test centre user. This employee will be set in the test centre creation.
Test centre user contains below access rights:
Online Appointment: Own Appointments Only
User Types: Internal User
Employees: Officer
Website: Restrict Editor
Administration: None (do not select any access rights)
Technical Settings: None (do not select any access rights)
Timezone: Based on the user’s country.
2. Create Test Centres and add slots for each test centre:
These test centres will be displayed on a website to create an appointment for covid test. To create a test centre goto Website -> Covid Appointments -> Covid Test Centres.
Add a test centre employee to display slots. Test Centre can’t be published without adding an employee in the “Available Employees” field.
To add slots goto slots page in Covid Test Centres form view. Add slots based on the test centre.
Each Test centre will be mapped to one test centre internal user. So when the test centre logs in their account then it will show only those test centres which are assigned to it. To do that, select the test centre user in the User field.
Medical Staff page contains employees list which are mapped with the current test centre. Users cannot add medical staff from this form view. Please check 4th Point to map medical staff to the test centre. After creation, publish the test centre to view in the website.

3. Create Companies and give them portal user access:
These company records are the customers for odoo. To create the customer company goto Contacts menu and create the company type records.
There are some required fields to create a customer company like:
Name -> This will be the name of the company.
Unique ID -> Unique id of the company, you can not write the same unique id for two different companies.
Test Centre -> On the website, the test centre will be filtered by the selected company reference.
Restricted Countries -> This is not a required field. If this field is blank then all countries will be displayed on the website otherwise only selected countries will be displayed on the create the appointment page.
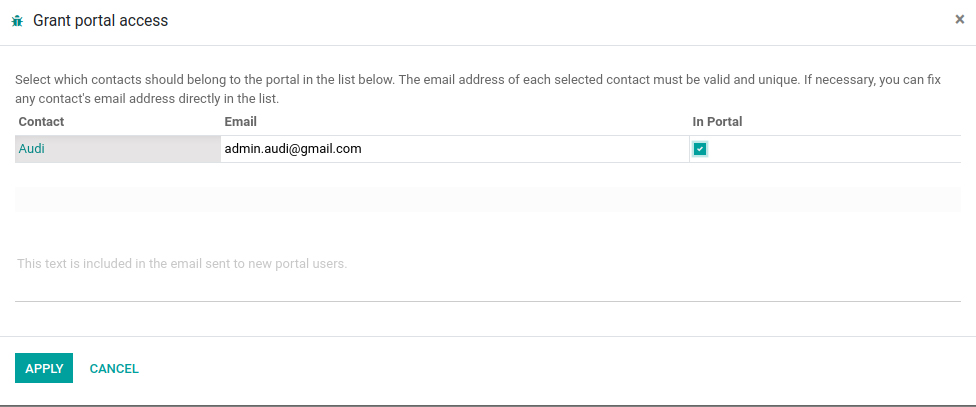
After creating a company, give the portal user rights by clicking on the Grant Portal Access action. So the company will be able to check their employee’s covid appointments and the covid status.

4. Create Medical Staff Employees:
Goto Employees menu to create medical staff employees. Each employee will be mapped to the one test centre. So when any covid appointment will be created then the test centre assigns any one employee, to process the covid test.

HOW IT WORKS?
First login with the admin user to create test centre users, test centres, companies records and the medical staff records.
Step 1: Employee book for an appointment
on available slots – > they select the centre and the time (Drop down on time Test centre display test centre and time takes place).
Step 2: The Test Centre receives the notice and the details of the user with generated unique QR code for that particular appointment.
Step 3: Email Generated with unique QR code of the employee With test appointment details.
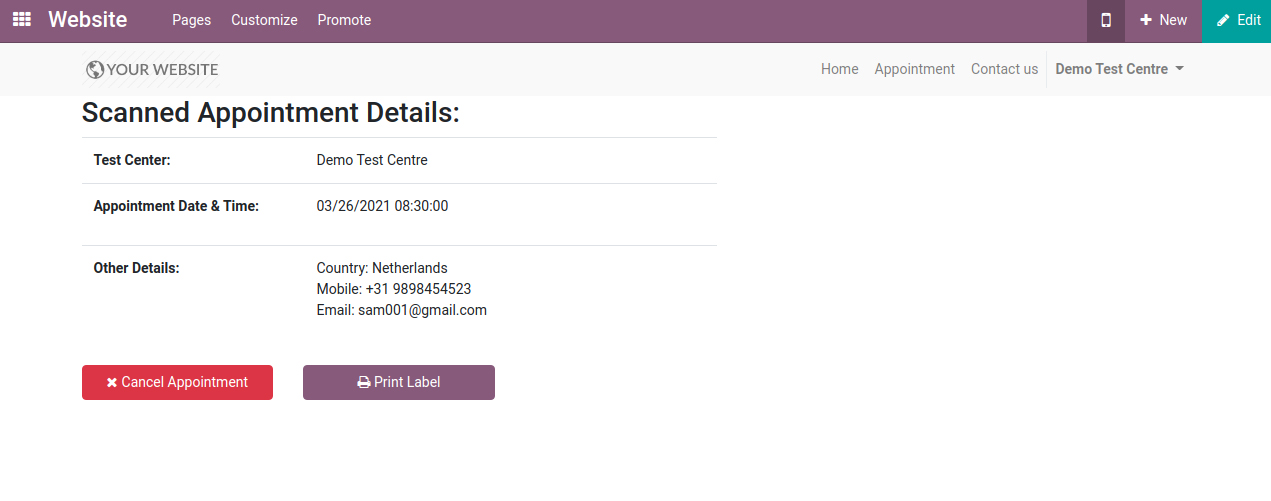
Step 4: Employee reaches test centre -> Test centre acknowledges appointment success upon scanning the QR id ( Uniq QR code displayed to print as label ).
Step 5: Test Result generated, Test centre must be shown the Positive / Negative or Error to select to map against QR code…
Step 6: According to the result (Email with predefined template) sent to the employee.
If positive, notify the test centre to loop Local authorities in the email.
Step 7: generated result valid for 48 hours from the moment test given. Up to 48 hours the result is scannable and the outcome must tell the actual result.
SCREENSHOTS
1.User visit the website to Create an appointment:


Note: After confirmation a new portal user will be created.
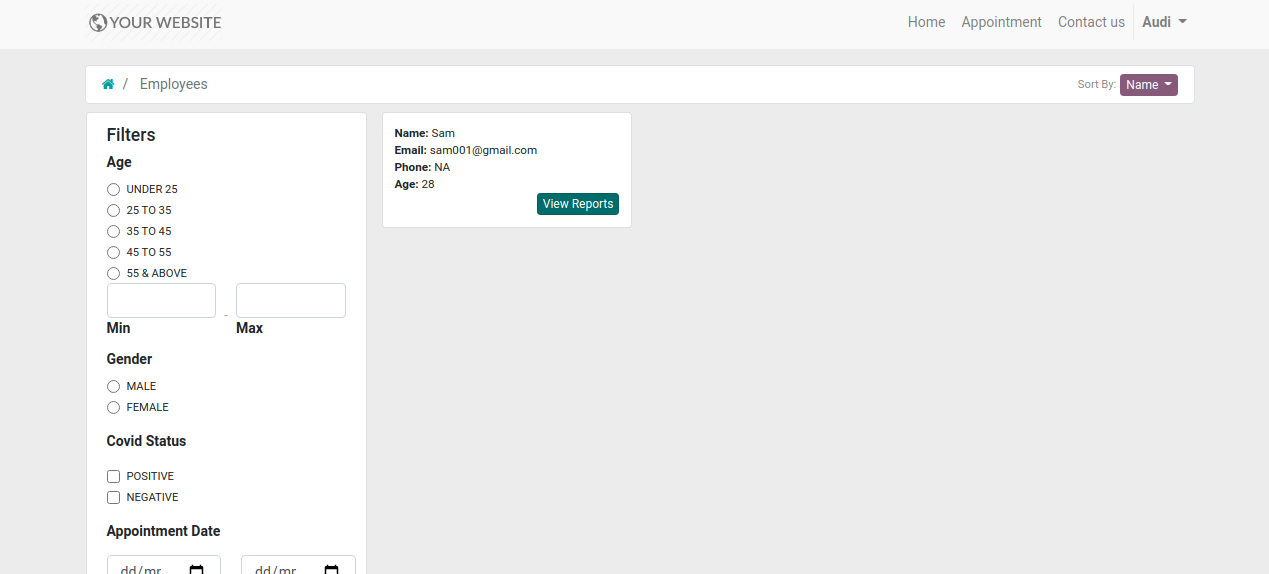
2.When a company logs in then it can check the appointments of its employees.


3. Print Label (Paperformat 25mm X 25mm):
4. Mail Templates Designed for Appropriate Stages.
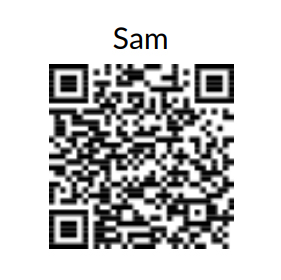
Scan QR Code from mobile, to open a link