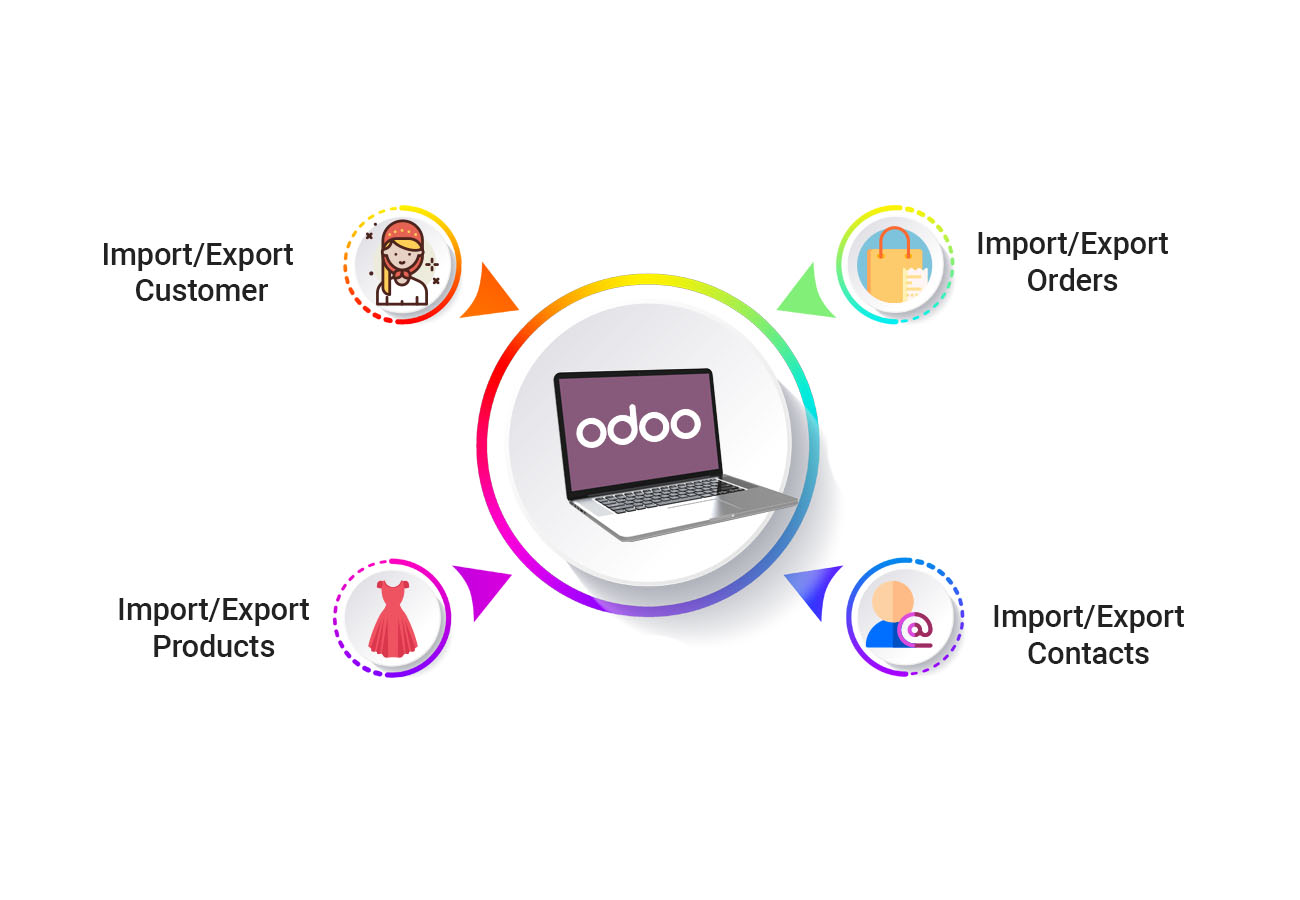
Import and Synchronise

Export and Synchronise

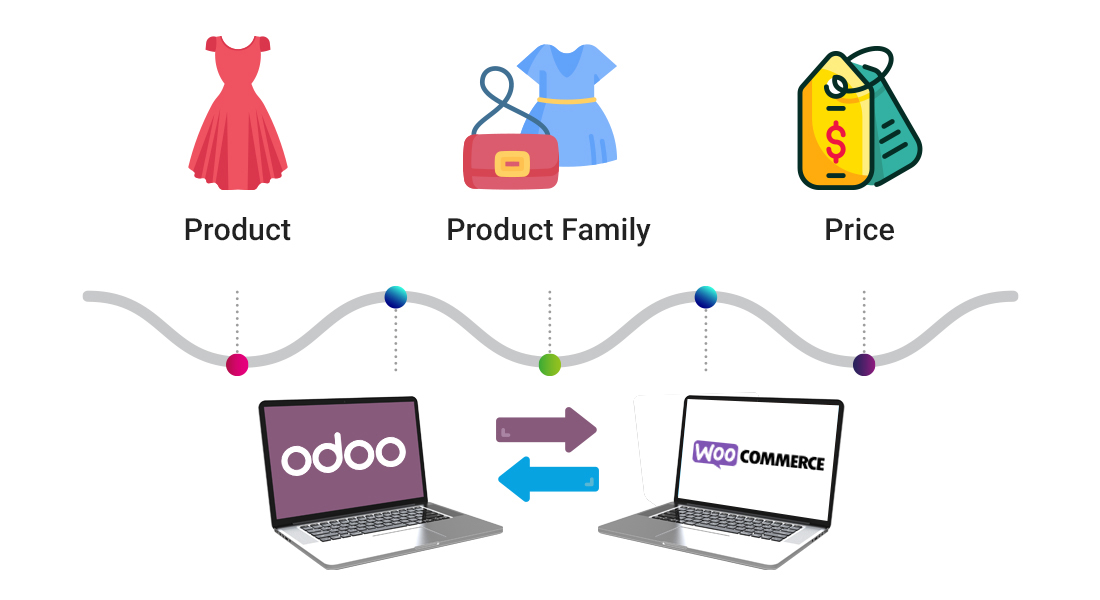
Synchronize Products
Import Orders
Automatic Jobs
WooCommerce is now the most popular eCommerce platform on the web. It allows you to sell anything, beautifully. Built to integrate seamlessly with WordPress, WooCommerce is the world’s favorite eCommerce solution that gives both store owners and developers complete control.
Pragmatic has developed a module as connector between Odoo – Woocommerce. Now user can easily Import data from Woocommerce to Odoo. List of features of this connector is mentioned below:-
Once user can Import the Product from woocommerce to odoo, User can see WooCommerce Id over the form.
Odoo WooCommerce Connector Features
 |
Import Product Category from Woocommerce to Odoo |  |
Import Product from Woocommerce to Odoo |
 |
Import Inventory from Woocommerce to Odoo |  |
Import Customer from Woocommerce to Odoo |
 |
Import Sales Order from Woocommerce to Odoo |
Odoo – Woocommerce Connector
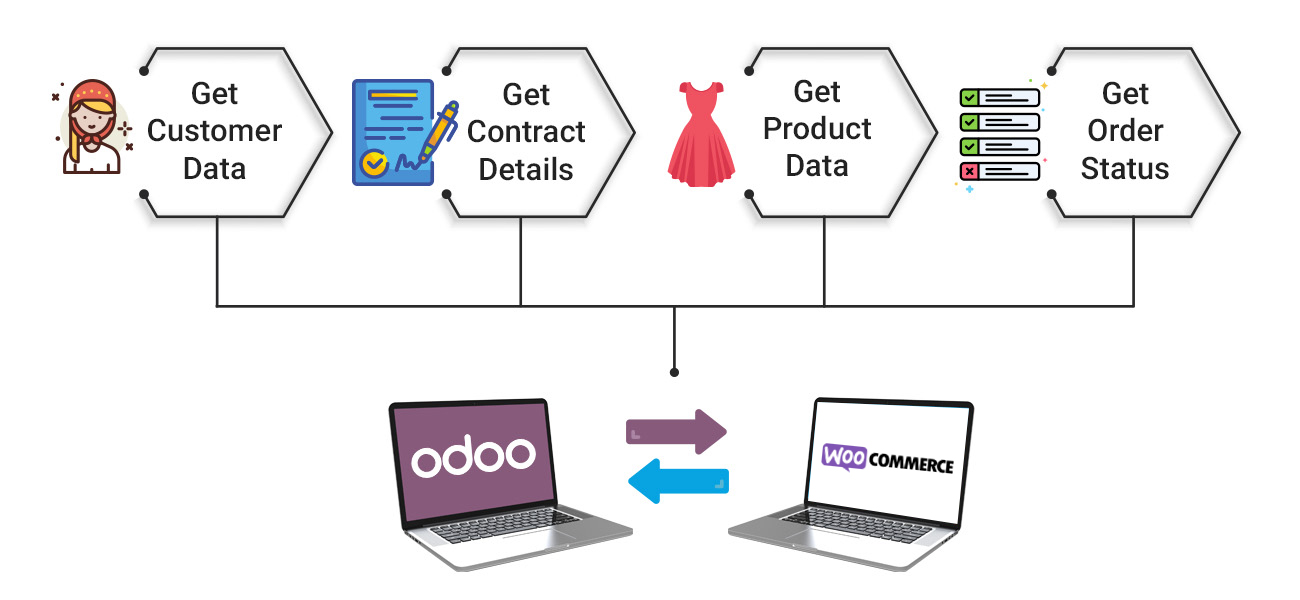
This application is used to connect your odoo and woocommerce and export or import data bidirectionally. Using this module you can easily manage your multiple woocommerce stores by connecting with your odoo database.
This application provides the features for exporting and importing Customers, Sales Orders, Products, Product Categories, Product attributes and values, Taxes.
User can create and configure multiple woocommerce instances in odoo and start importing and exporting data, this module have a beautiful user friendly dashboard from where user can see the synced data count, total sales along with a bar graph.
How to use each of this functionality are shown below.
After installing this module goto the menu WooCommerce

First we need to create and configure the instance for that goto Configuration > Woo Instance

From here create new instance by providing your WooCommerce credentials, after saving everything you can authenticate the details you have entered by clicking on the authenticate button, if the connection is success you will get a message like below

Now we can start importing and exporting of data, a new dashboard will be created automatically for each newly created instances.
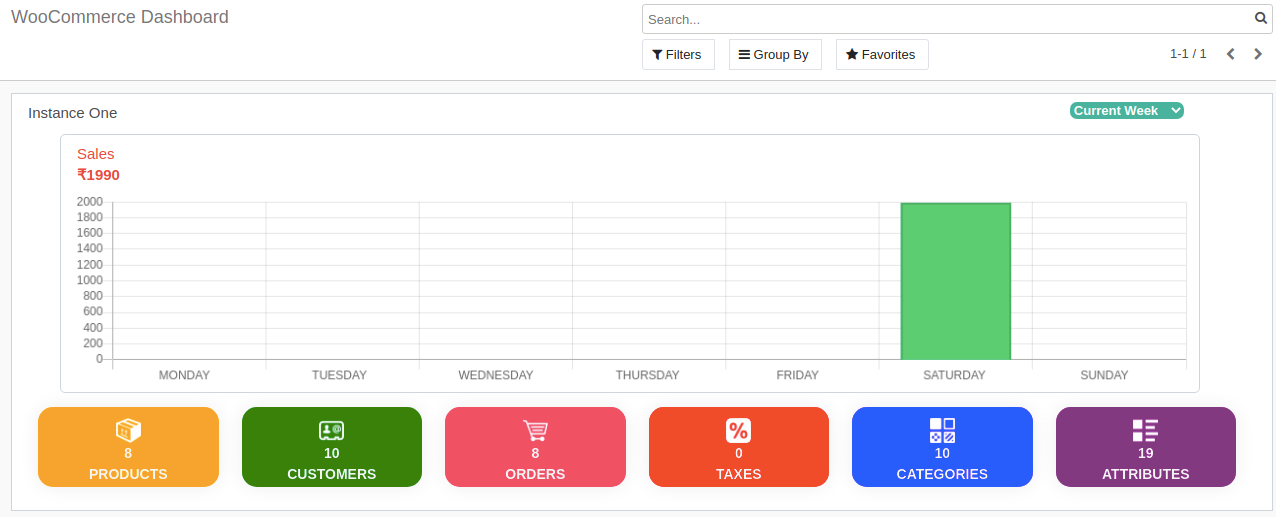
From here you can see every information about your synced instance data and total sales done with a bar graph.
Export And Import Features
1. Export And Import Customers
For export and import customers goto Export/Import menu and select Customers
Import Customers
For importing customers you can click on the Import from WooCommerce button

then a wizard will popup from where you can select from which instance the data should be imported and click on Import Customers button.

Then all your customers will get imported from WooCommerce, all synced data will be updated with woo commerce id and the woo commerce instance name from which it have been synced.
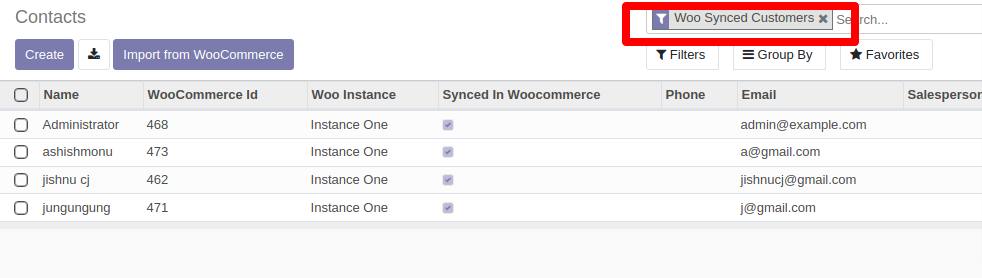
All synced customers can be viewed easily by using Woo Synced Customers filter.
Export Customers
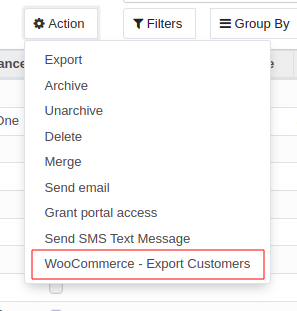
For exporting customers from list view select the customers you need to export and click on the Action dropdown and select the option WooCommerce – Export Customers
Then you will get a popup to select the instance to which you need to export and click Export Customers button.

Then selected customers will get exported to WooCommerce instance.
2. Export And Import Products
For export and import Products goto Export/Import menu and select Products
Import Products
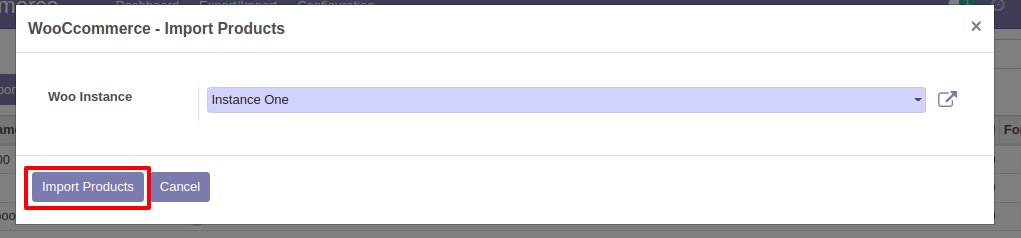
For importing products you can click on the Import from WooCommerce button, then a wizard will popup from where you can select from which instance the data should be imported and click on Import Products button.
Then all your products will get imported from WooCommerce, all synced data will be updated with woo commerce id and the woo commerce instance name from which it have been synced.
You can also publish or unpublish synced products in WooCommerce from odoo, for that open any synced product form and click on the Click to Unpublish or Click to Publish button.

Import Stock Quantity
For syncing the quantity from Woocommerce you can click on the button Update Stock Quantity located on the product tree view.

Export Products
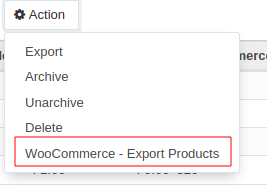
For exporting products, from list view select the products you need to export and click on the Action dropdown and select the option WooCommerce – Export Products
For exporting product images you need to first add images under the images tab on product form view.
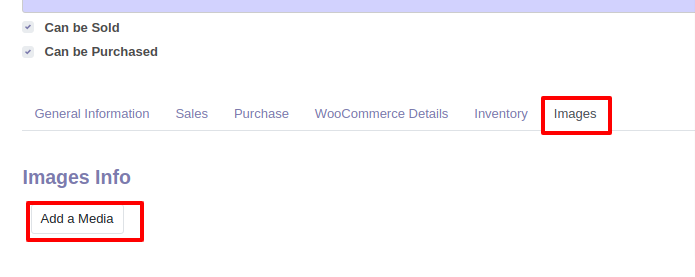
After clicking on the Add a Media button you will get a popup in which you can give a name and copy the url of product from web and paste it here, after pasting the image url you must add an image extension along with the url separated by a dot, then odoo will automatically compute the image and display it

Like this you can add multiple images and export the product, so the images will also get reflected in your WooCommerce.
3. Export And Import Sales Order
For export and import Sales Order goto Export/Import menu and select Orders
Import Sales Order
For importing Orders you can click on the Import from WooCommerce button, then a wizard will popup from where you can select from which instance the data should be imported and click on Import Orders button. For the orders where products and customers not synced will not be created.
Best practice is to import all the master data of products and customers then import sales orders.

Then all your orders will get imported. All synced orders can be viewed easily by using Woo Synced Orders filter.

Export Orders
For exporting orders, from list view select the orders you need to export and click on the Action dropdown and select the option WooCommerce – Export Orders

Then you will get a popup to select the instance to which you need to export and click Export Orders button.